Saturday, August 31, 2013

Simple Pleasuers~ French Toast Recipe

 I love every other Friday.  Simply because I get to pick up this amazing cutie!  We have split custody, so I only get him every other week.  When he is here I try to make the most of it.  Homemade breakfast, trips to the library, family trips to the Drive In.  This boy is spoiled, and I wouldn't have it any other way.  We enjoy our time together and wouldn't trade it for anything.  He is the best helper, and loves our animals and garden.  So when it comes to making breakfast he is right there in the kitchen helping.  This just happens to be us making french toast.  His favorite part?  Cracking the eggs.
 French Toast
2 eggs per person
Milk
Cinnamon
Vanillla
Bread

Crack eggs in flat dish.
Add a splash of milk, cinnamon, and vanilla.
Coat bread.
Fry.
Slather on your favorite topping.

I haven't learned how to take a good picture with his glasses on.
 Enjoy! 


I like my French Toast with Peanut Butter and Syrup.  I added some cantaloupe, to round out my breakfast.  
                                                     Little guy enjoying his French Toast. 


Friday, August 30, 2013

Pollinating Squash Plants


 Back story:  I was talking to a wonderful lady at church about how my garden was doing, a few years ago.  She asked if I had any female squash flowers.  I must have given her that "What??" look.  She then started to explain male and female flowers.  It is so simple, and I thought I would share.  The top 2 pictures are of a male flower.  Pretty flower with a straight stem.  The bottom pictures are of a female squash plant.  They look like they have been pollinated, but they haven't yet....         And if you know the difference between a male and female flower you can hand pollinate them.
Male


Female


 To hand pollinate a female flower take the pedals off of a male flower.  Use the male flower like a paint brush to pollinate the female flower. 

 You can tell you have done it right if the flowers wilt by the next morning. 
Here is the squash that will grow from our hand pollinating. 


Present time:  I'm so glad I learned how to do this.  I have seen a few bees pollinating the squash flowers, but not as many as last year.  There have not been as many bees in the garden at all.  Scary though.  No bees meas no produce.


I did this to a Spaghetti Squash, but this will work for all squash plants, cucumbers, and pumpkin plants. 

Thursday, August 29, 2013

Canning Green Beans

I have finally mastered growing Green Beans!  It took me 3 years to get it right and I'm so excited to finally have a huge green bean harvest.  I love home canned green beans in the winter and have grown to hate the store bought stuff.  I know exactly what is going into my jars, and what kind of seeds I planted.  
Before Shot
Snap off the ends.
 Snap in half
 Save the ends for the chickens


Wash green beans.  
Pack into jars leaving 1 inch of head space. 
Add 1 teaspoon of Salt (optional).
Add water leaving 1 inch of head space. 
Wipe rim.
Add lid and ring.  Tighten fingertip tight.  
Process in a Pressure Canner.
25 minutes for Quarts 
20 minutes for Pints. 
Label with contents and date. 


Enjoy the fact that you know everything that went into your jar. 

It takes me about 2 hours to pick enough green beans for 6 quarts.  Another 2-3 hours to snap them all so that they are ready to pack in to jars.  This is a great activity to do while watching a movie or two.  


Wednesday, August 28, 2013

Blackberry Pie Filling

Blackberry Pie Filling

16 cups Blackberries
3 cups Water
3/4 cup Clear Jel
4 cups water
1 teaspoon Cinnamon
1/2 teaspoon All Spice
1/2 cup Lemon Juice

 Add Sugar, Clear Jel, Cinnamon, All Spice to the pot.  Wisk it together.  Slowly add the water.  Bring to a bubble.  So not quite a full boil, but more then just steaming. 

Its going to look milky for a while.  It freaked me out the first time. 
Add Lemon Juice and boil for 1 minute.

At this point the Clear Jel is starting to thicken, just like in a gravy.  Keep going!


At the boiling point.  
 Fold in Blackberries.  Ladle into jars

Isn't this pretty!


I intended this to fit into 7 quart jars, but my math must be off.  I ended up with 4 quarts, 1 pint, and 1 1/2 pint.
 Wipe rims.  Add lids and rings.  Process for 45 minutes at 6000 ft.  If you are lower in elevation you will have to subtract some time. 
Out of the canner and cooling down.  Label, make sure you put the date. 


Use in between your favorite pie crust, or make cobbler.  Enjoy~

Quail Update

The quail are now 3 weeks old!  I can't believe it.  They are so quite, hardly eat anything, and are going to start laying in 5 weeks!  Even better next week they will be outside.  Outside in 4 weeks!  Much better then a chicken at 8.  At the end of 8 weeks your are questioning you sanity of raising chickens.  Can't say how much I'm loving the quail! 

Look at those feathers!

Saturday, August 24, 2013

Mistakes of a Rookie Canner

Canning is a great way to control your food supply.  You control every aspect, such as: what you can, what goes in your cans, what if any chemicals are used.  Pair up canning and gardening and you have a master combination.  With everything there are failures.  Here is a list of mistakes that I and others have made with canning. 

1. Label Everything
     I thought "I'll remember whats in them" or "We'll eat it before long, I don't need to label anything".  Big      lie!  I just dumped about 15 jars out because I couldn't remember when they were canned or what I canned in them.  What a waste of food!

2. Don't use cute abbreviations
     For the same reasons as above.  You are not going to remember what they mean.  When labeling use the Full title and date of what you canned.
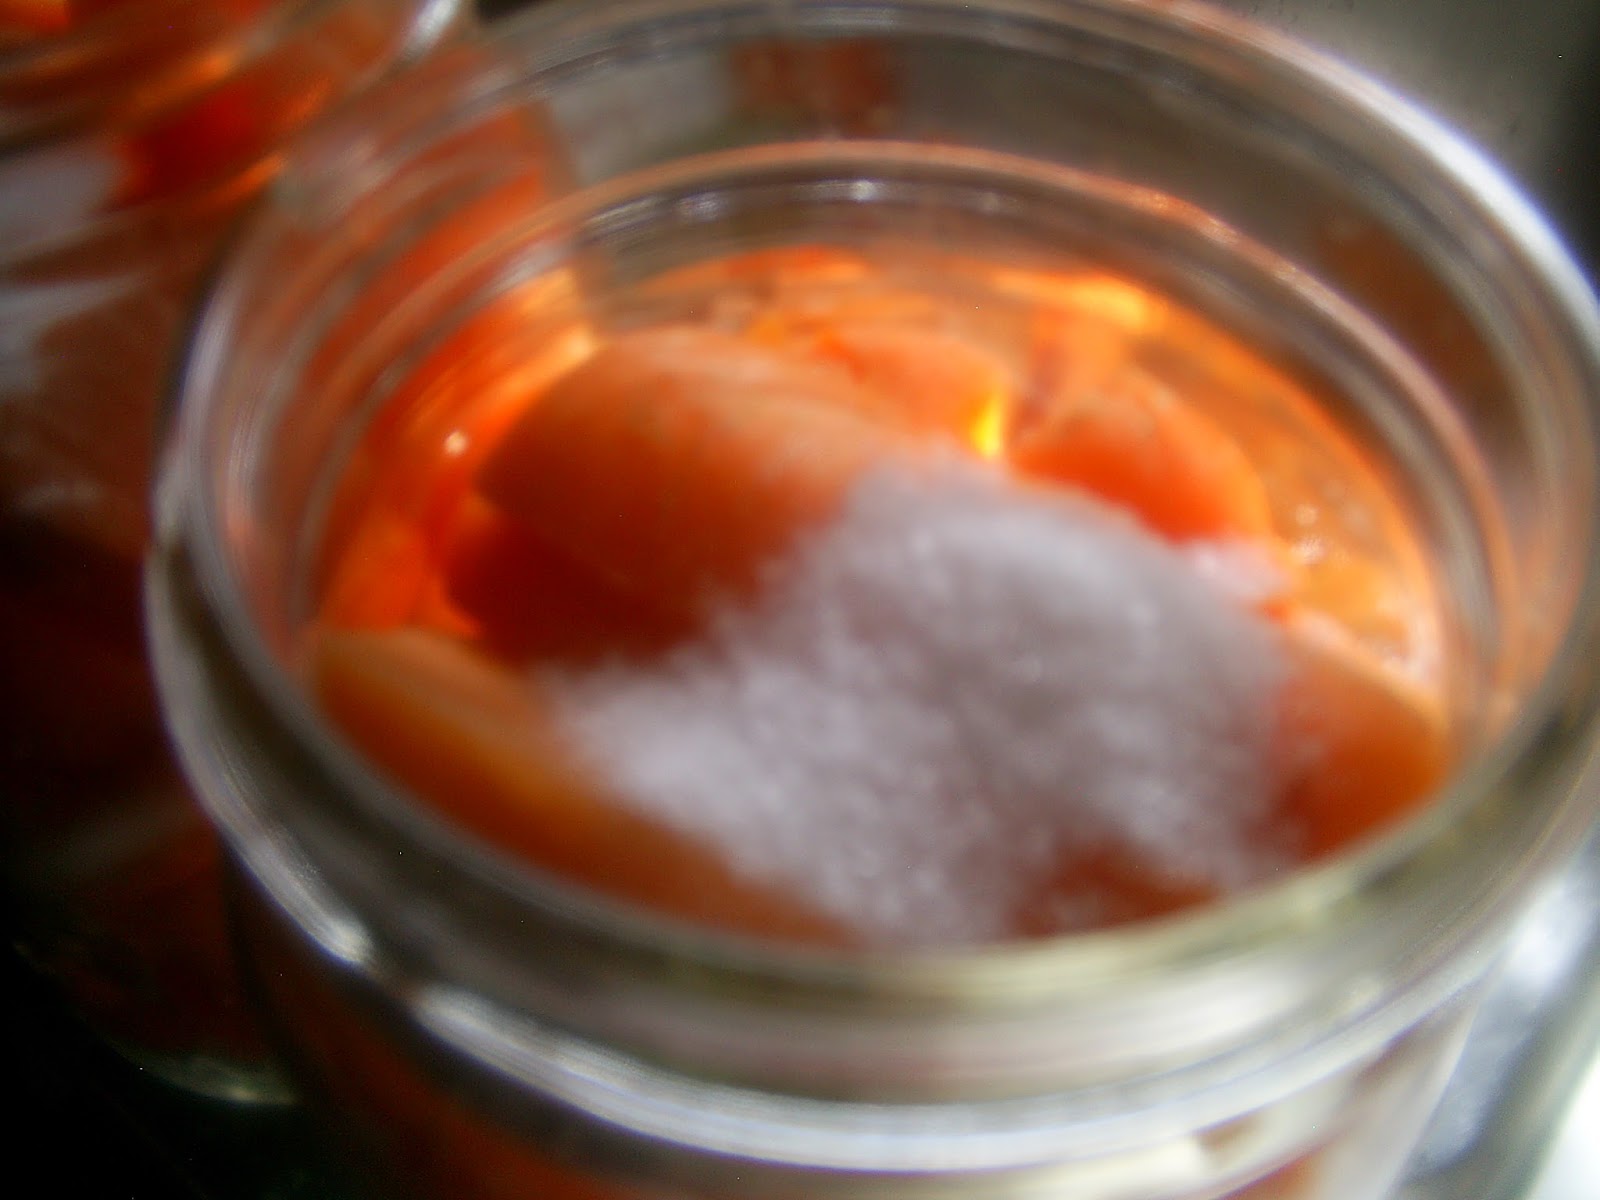
3. Clean the Jars
     As the cans are bubbling in the Water Bath or are being steamed in the Pressure Canner there are times when some the juice leeks out.  Called siphoning.   Although not a big problem, the fruit or veggies will be fine, it can cause a problem on your jars.  For one they are sticky.

4. Clean the threads on the Jars
     Take the ring off and wipe down the ring and threads on the jar.  If the jar is sticky it had to come from somewhere.  Blame siphoning.  Another great point for cleaning the jars after they have set for 24 hours is they will be easier to open later.  If more then juice has siphoned you could have food molding in the space between the ring and threads.  yep you guessed it I've found mold on my jars.

5. Don't Can What You Don't Like!
     Nothing in the store will beat the taste of fresh picked and canned fruits and veggies.  NOTHING.  Canning just keeps the goodies from the garden going all year long, but if you hate beets why would you can them?  Or grow them for that mater.  Don't get me wrong, I have a spot in the garden just to try new veggies, but I only grow enough for fresh eating.  There might be enough to can a load of pints (9 pint jars).  This way jars are not used to hold food that we are not going to eat, and I don't waste water, energy or space on something we are not going to eat. 

6. Always follow Directions
     Did you know that if you make jelly wrong you will have syrup?  yes I've made syrup.....  So follow directions.  One little screw up can make a huge difference later.

7. Use the proper Equpiment
     A water bath canner for fruit and a pressure canner for everything else.  A Pressure Canner is not the same as a Pressure Cooker....  Water bathing meat is not safe!  So use the proper equipment.  You don't want to poison your food.  Most of us can because we don't want all of the chemicals in our food.

8. Scrape the Foam
     No one wants to eat a jar of foam from jam or jelly.  Scrap it off, its the cooks cut!  Besides there shouldn't be that much foam.  If a little gets in to a jar its no big deal, but I just threw away a full jar of foam jam. 

9. Some Projects can wait for Winter
     Most of your garden veggies need to be picked and canned when they are in season, so summer.  There are some projects that can wait for winter, for example meat and beans can wait for winter.    No need to stress yourself out trying to can everything at one time when something can wait.  Besides, Thanksgiving and Christmas is when turkey and ham go on sale.  Wait to can ham and beans when the ham is on sale. 


I hope this helps keep you from making some of the mistakes I did.  There is no need to fear canning, but with a few tips your will have jars that look wonderful and are filled with wonderful things for later. 
    

Friday, August 16, 2013

Canning Stew/Soup Veggies

I hope to be busy teaching classes for my local charter school this fall.  This means lesson plans, grading, and being out of the house.  I thought this would help with some quick meals.  Pop open a can, add some cooked meat and Viola! Dinner!  So here is what I did.
Cube potatoes 2 cups for each jar
Cut tops and tips off of carrots
Snap tops and tips off of green beans, snap into bite sizes
Fill jars with 2 cups potato, 1 cup carrots, and 1 cup green beans.
I though it would be fun fill them in layer.
Fill with water 1 inch to the top.
Wipe rims, add lid and ring.  Tighten till finger tight.  
Process for the longest veggie time.  In this case the potatoes at 40 minutes.  


~I can't wait to use these and give you the recipes I come up with!

Thursday, August 15, 2013

Freezing Carrots

 This is one of my bucket list items.  Learning a new way to preserve food.  I tacked freezing carrots.  These little ones are left over from canning both carrots and stew veggies. 

Cut carrots.
Put in boiling water for 2 minutes.
Give ice bath to cool them down
Drain.
Package. 
                                                      Label.


 Yes it was that simple.  I plan on adding these carrots to our noodles to add a little extra flavor.  I'm loving home grown carrots and can't get enough of them.  I love knowing that there are no fertilizers, pesticides or any chemical to grow them.  I love growing heirloom seeds, and the variety that they have.  I love canning, freezing and eating food that I personally grew.  I know every ingredient that went into the jar or bag.  I can't think of any better feeling!
~I hope all of you will catch the canning bug! 

Wednesday, August 14, 2013

Canning Carrots

 I went carrot picking crazy!  I started just thinning a few carrots, then I thought I would just finish thinning a patch.  I ended up thinning/harvesting the entire patch.  I did leave carrots, evenly spaced every 6 inches.  What I ended up with is 2~ 5 gallon buckets.  What to do with that many carrots?  Can them!
They started with a washing.
Then we cut the tops and the tips off. 
Next pack them in a jar. 
Add 1 tsp salt optional.  
Add water to the 1inch line.  

 Wipe jars.
Add lid and ring.
Load in Pressure Canner
Process for your altitude.  I had to can them for        30min.

After they set overnight I took off the ring and wiped down the ring, and the jar. 
Label.

Save for a few months and enjoy on a cold winters day

Enjoy~

Tuesday, August 13, 2013

Quail Update

 Here is the quail update for this week.  They have started feathering out, and have doubled in size.  3 week and they will be living outside, and only 5-7 weeks till I will have quail eggs. 


I am exhausted and will catch all of you up tomorrow.  I hope you will look forward to some fun posts in the next week. 

Friday, August 9, 2013

Baby Quail!

We never get tired of hatching eggs around here.  I often ask a friend if I can hatch chicken eggs for her.  We bough some quail with the intentions of hatching eggs and butchering them for the meat.  It just happens that after I set these eggs that my breeding stock got loose.  These little ones will become my breeding stock and will hopefully produce quality offspring for us to butcher.  I have found that home grown meat is much tastier then the meat at the store. 

This little one will hopefully like getting its picture taken soon. 


I just can't resist taking baby pictures!


Size comparison!  These little ones are tiny, and will start laying in 6-8 weeks.  That is 12-14 weeks sooner then a chicken will start laying. 


Little guy ♥s holding the little ones.  I won't have to worry about these quail being skittish! 


I hope you will check back on the growth of the quail!