Monday, August 5, 2013

Oven Steamed Green Beans

 I smacked my head when I figured this one out!  I didn't want to microwave, or boil these beauties.  I already had the stove on so I figured might as well give this a try.

Oven Steamed Green Beans
Green Beans
Butter
Liquid Smoke

Wash Green Beans.  Snap off the ends.


Place Green Beans, Butter and Liquid Smoke on aluminum foil.  Close up ends and steam in the oven for about 45 min to an hour. 


Enjoy~

And yes it was that simple!

Roasted Veggies!

 This is today's veggie harvest.  I turned it into two of the most amazing side dishes to go with some home-grown, home butchered chicken.  This post if focused on the amazing roasted veggies. 

Oven Roasted Veggies
Beets
Carrots
Onion
Garlic
Mushrooms(optional)
Extra Virgin Olive Oil
Salt
Pepper
 

 Wash Beets Cut off the ends and tops.
 Wash Carrots.

 Cut off ends and tops. 
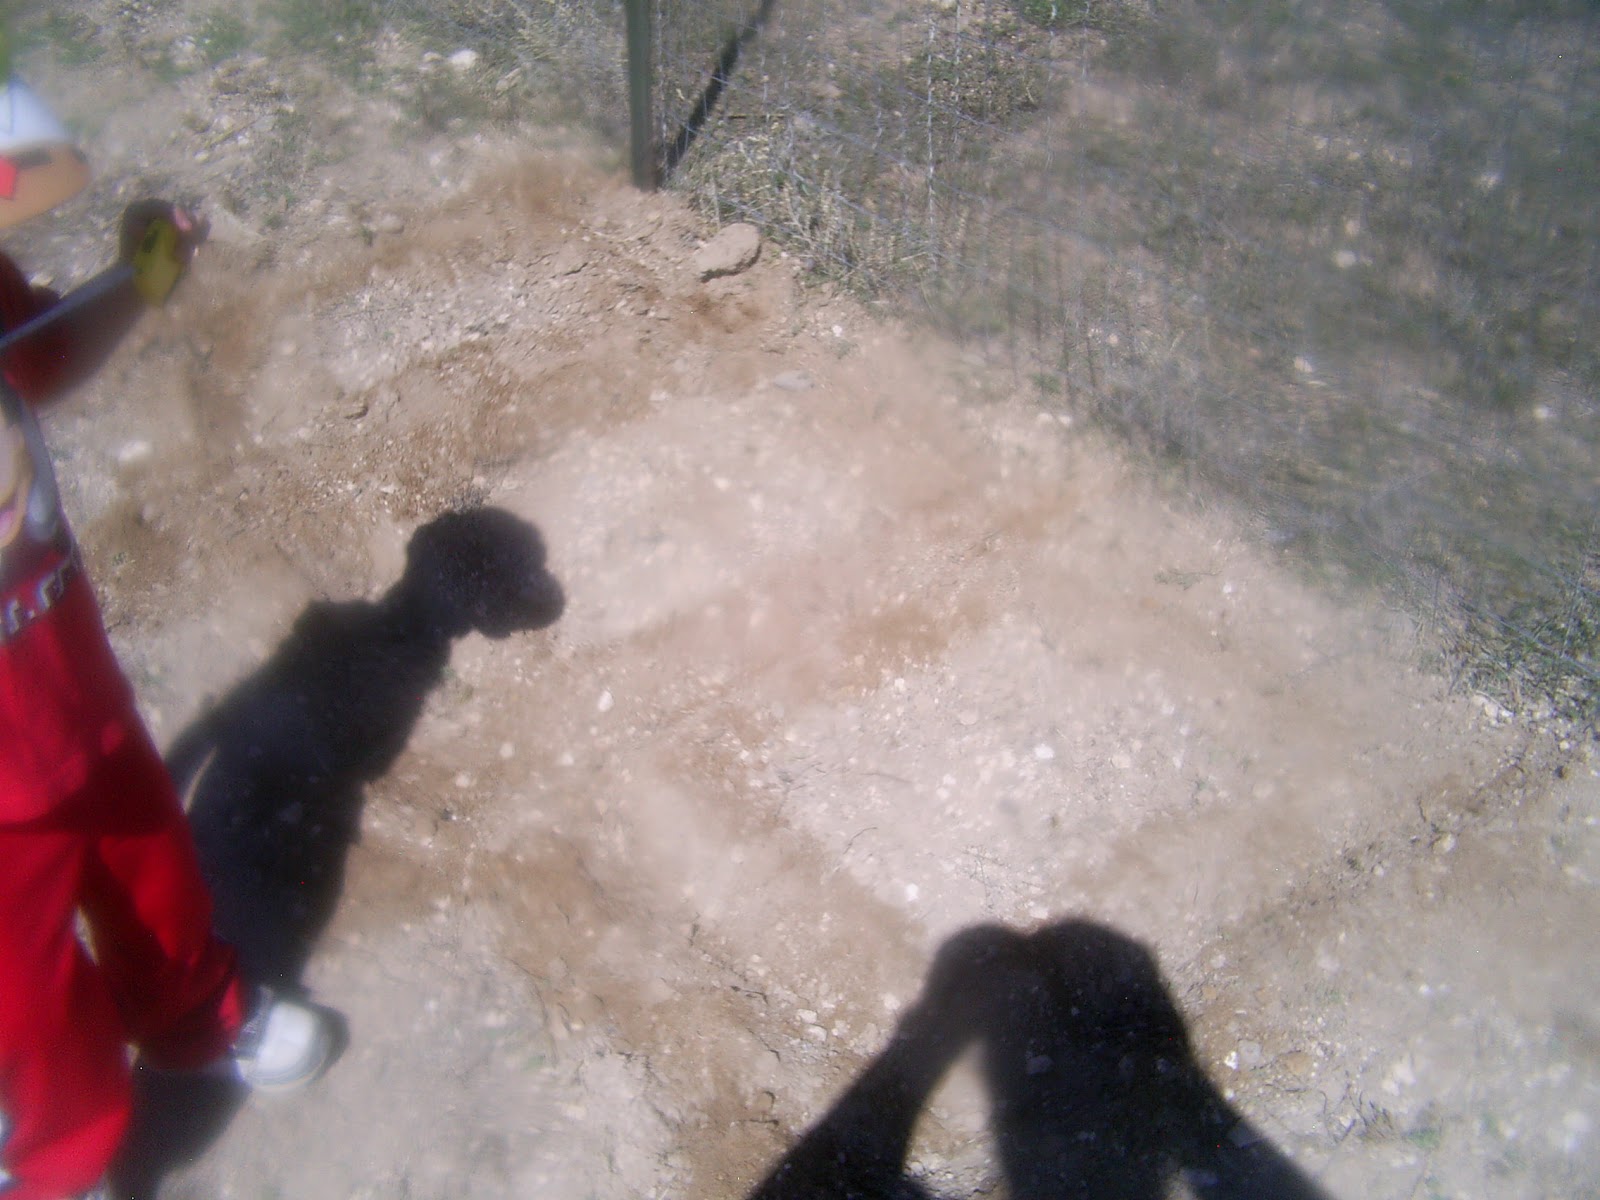
 Save tops and ends for rabbits. 
WARNING:  If you do not feed your rabbits garden scraps often do NOT toss them an entire bucket to them.  It can cause them to bloat and die.  My rabbits have been given garden scraps since they have started eating, and are use to eating things other then pellets. 

My young does loved these scraps, and had a feeding frenzy!
 I cut my carrots in half length wise and cubed the beets. 
 I broke up some mushrooms.  The only veggie not grown here.  Diced a little onion, and added some garlic.  Drizzle with Extra Virgin Olive Oil, sprinkle Sat and Pepper over top.  Bake 350° for about 45 min. 


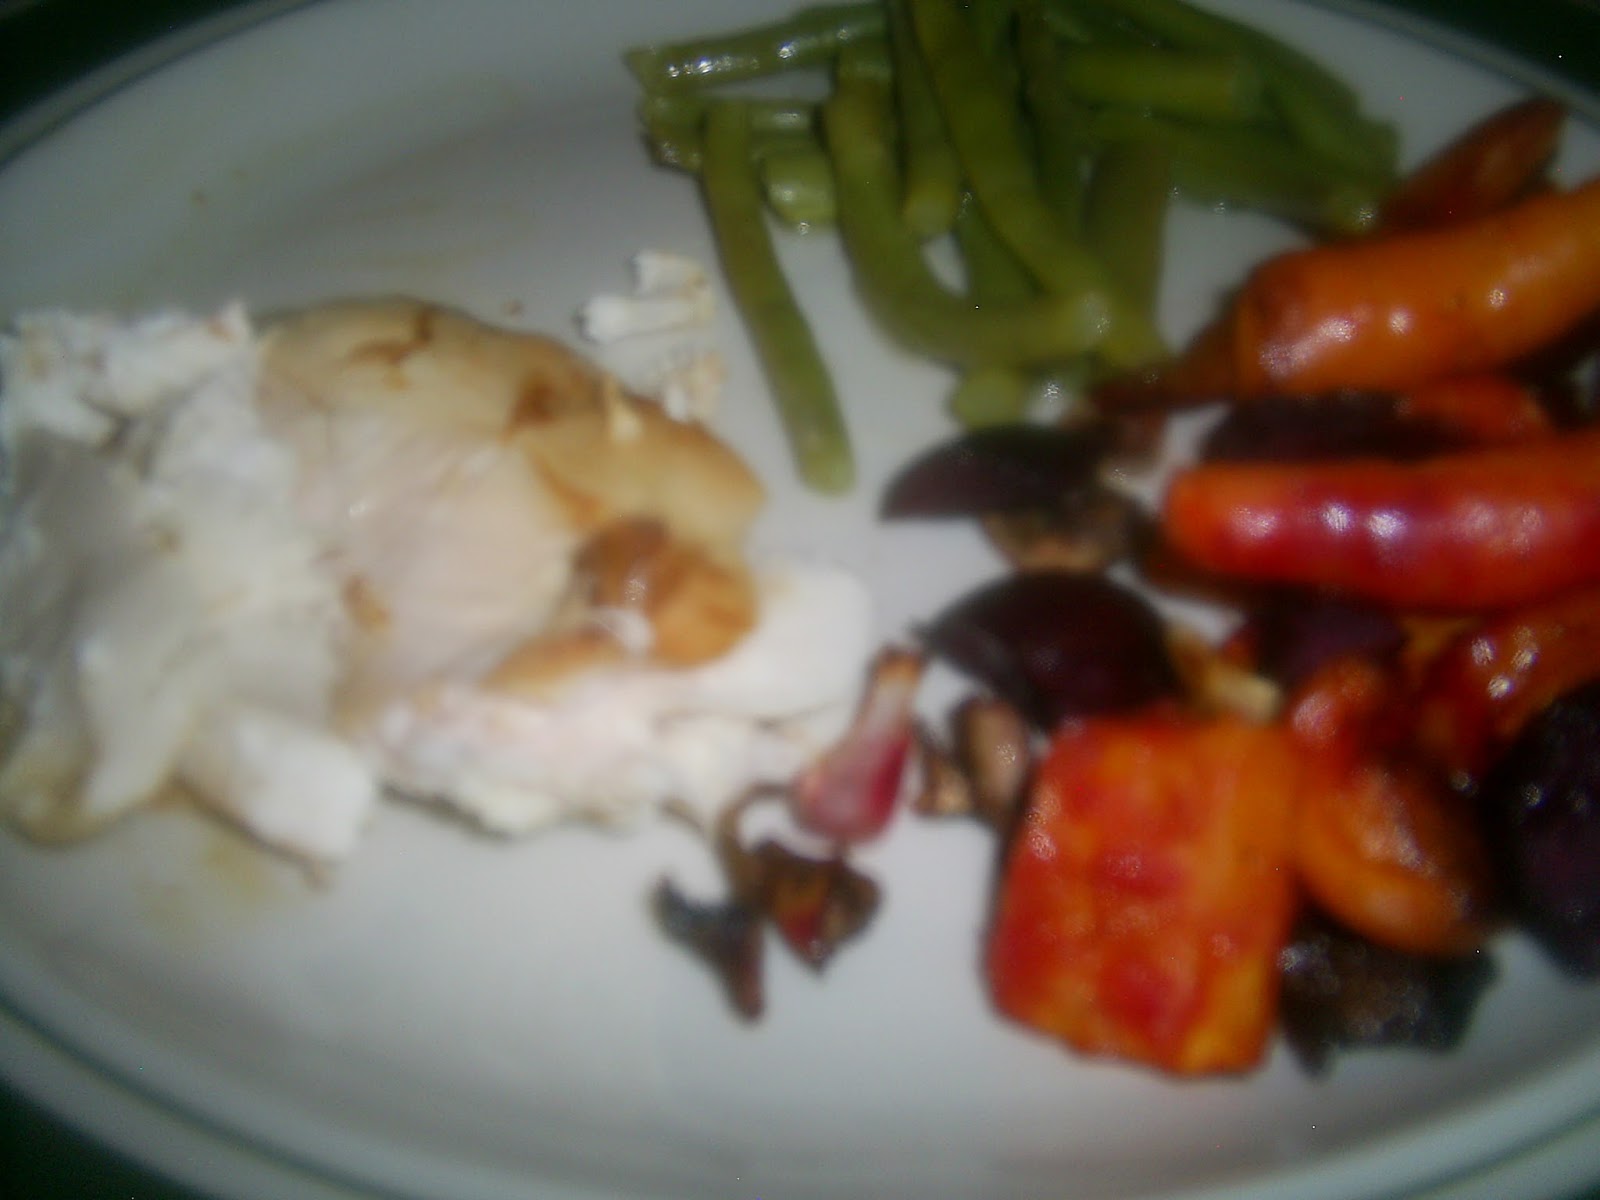
Finally here is dinner Chicken, Oven Roasted Veggies, and Oven Steamed Green Beans.  

Enjoy~

Wednesday, April 17, 2013

Farm Update in Pictures

 Our chicks at 7 weeks old.  They are fully feathered and love being in their coop.  There is so much room for them to run.  We will leave them locked in just the coop for a few weeks they we will let them get use to the run.

 Above is a picture of 3 year-old and Minnie.  Minnie is due to kindle May 8th.  This will be her first litter. 


Here is 3 year-old and Daisey.  Daisey is due to kindle May 6th.  This will be her and our first litter of rabbits. 
Daisey munching on hay.


 This is Mickey our buck.  He is a New Zeland mix.  He had beautiful fur, these pictures don't do it justice.  Mickey has yet to prove himself, so lets hope these does are pregnant.  He is mild tempered, and a snuggle bunny.

 Our Laying Hens and their Roosters have a new coop!  They are in coop training, which means being in lock down for a week.  i picked a great week since it is snowing. 

The hen to the right is a barred rock and is one of the sweetest hens I've ever had!  Love the barred rock breed. 
Getting eggs on a snowy day.  Love it!

Thanks for taking a look!  Gardening posts will continue when spring comes back to Colorado. 

Happy Gardening~

Tuesday, April 2, 2013

Sowing Lettuce

***Warning: This is how I sow my garden.  This method may or may not work for you.  I am NOT saying that any other way is wrong.  This is what works for ME.  I am providing this information so that others can have a starting point for their garden.  I do not guarantee that this will work or that you plants will grow.***

Sewing lettuce is exactly like sewing spinach.  I found a lettuce that grows like grass.  I can harvest it by cutting it, and it will continue to grow. 

Dig your ditch.  I dug four of them.  I am just plating lettuce in them.  I have amazing gardening friends that plant salad rows.  They mix their lettuce, spinach, carrots and radishes in together.  I always fail when I try to do this so.......... I do it this way.

Add you seeds, cover with soil and water.  Lettuce is done.  Easy right??

Good Luck and Happy Gardening!

Sowing Kale

***Warning: This is how I sow my garden. This method may or may not work for you. I am NOT saying that any other way is wrong. This is what works for ME. I am providing this information so that others can have a starting point for their garden. I do not guarantee that this will work or that you plants will grow.***


Once again I started out by digging a ditch.

I measued out 2 feet and made several marks and then connected them.  This is my amazing helper!  He had is own tape measure. 

I know it just looks like two lines again.  Its what I did next that makes it different. 


I started at the end by the fence post then marked every 2 feet.  The kale is planted in the corners of each square.  Since kale needs to be so far apart I did drop about 2-3 seeds in each corner, but nothing inbetween.  No thinning needed, unless more then one seed sprouts.
 
 
Here it is all planted.
 
 
And  now watered.  I noticed that I didn't water this spot as well as I should have.  There is always tomarrow to fix that.
 
Happy Gardening!

Sowing Spinach

***Warning: This is how I sow my garden. This method may or may not work for you. I am NOT saying that any other way is wrong. This is what works for ME. I am providing this information so that others can have a starting point for their garden. I do not guarantee that this will work or that you plants will grow.***

I started by digging out all of the weeds, and spreading manure.  Next.....

Carve out your trenches.  I free hand mine.  I don't care it they are straight.  They just need to be far enough apart that I can companion plant later on.  My spinach needed to be 2-2 1/2 feet apart. 

Drop you seeds in.  I'm not precise when I drop them in.  The spinach needed to be 6 inches apart.  I dropped in 2-3 seeds every 6 inches.  If I happen to have all of the seeds sprout I'll pull up whole plants and use them when I cook.  That way they are thinned to the 6 inches apart they need to be and I don't waste any seeds.  Next cover with soil.  Only about 1/2 inch.  I like my plants to be in valleys.  That way the water stays with the plant instead of rolling down a hill.


Water well.  2 different reasons to water. 
1. It helps compact the soil around the seed so that it doesn't rot in the ground.
2. Watering keeps the top soil where it belongs.  If you happen to use a tiller you will notice that with strong winds that there is dust in the air.  Well that is the top soil that has been tilled up.    After all of the hard work I just put in I want my soil to stay where it belongs. 

Good Luck with you Spinach and Happy Gardening!

Step 1 Soil

The first step to any garden is to prep your soil.  Well I guess the fist step is pick your spot, then you need to plan.  I'm going to start after that.


This is the Spinach spot.  It needs to be weeded.  Pick out anything green, and any weed seeds that you can see.
 
This is why I don't like rototillers.  There is a worm in the middle of this picture.  A tiller will kill all of the worms in your garden.
 
Here it is all cleaned up.
 
 
Spread some composted horse manure and rake it in.
 
 
Now your soil is ready for seeds.

Happy Gardening!!