Friday, August 16, 2013

Canning Stew/Soup Veggies

I hope to be busy teaching classes for my local charter school this fall.  This means lesson plans, grading, and being out of the house.  I thought this would help with some quick meals.  Pop open a can, add some cooked meat and Viola! Dinner!  So here is what I did.
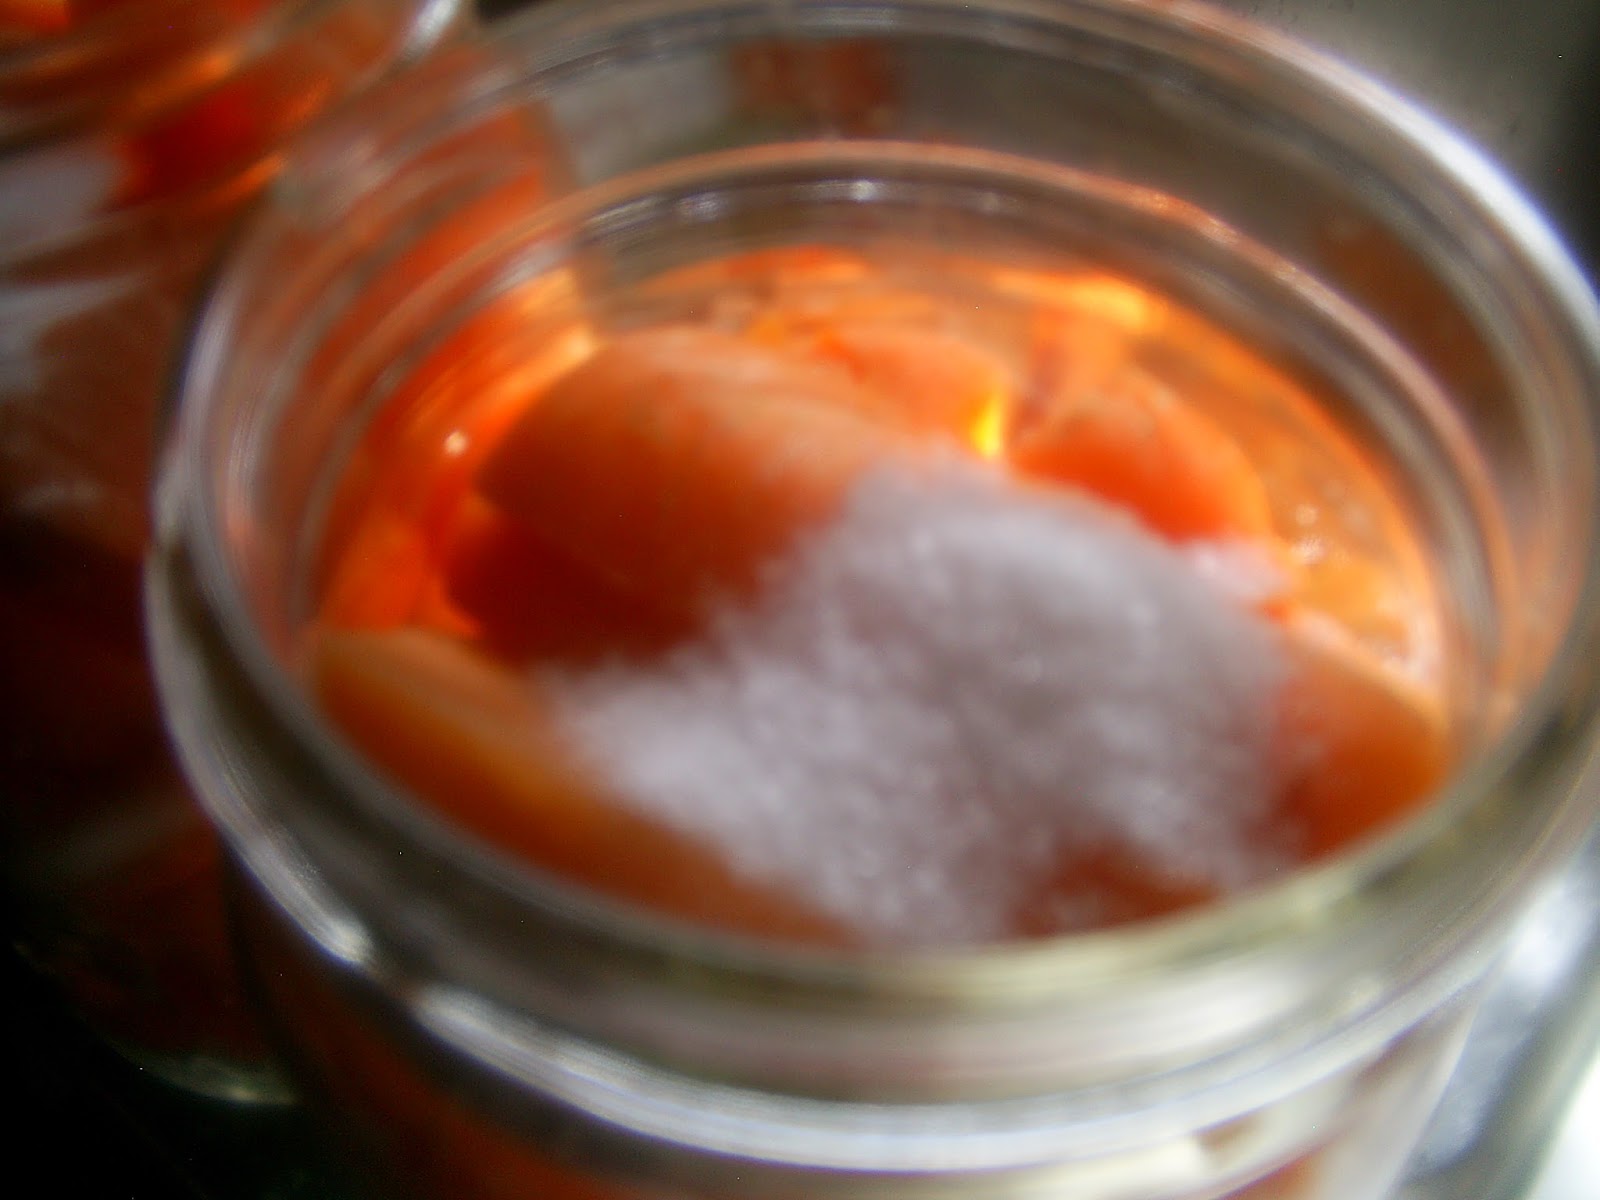
Cube potatoes 2 cups for each jar
Cut tops and tips off of carrots
Snap tops and tips off of green beans, snap into bite sizes
Fill jars with 2 cups potato, 1 cup carrots, and 1 cup green beans.
I though it would be fun fill them in layer.
Fill with water 1 inch to the top.
Wipe rims, add lid and ring.  Tighten till finger tight.  
Process for the longest veggie time.  In this case the potatoes at 40 minutes.  


~I can't wait to use these and give you the recipes I come up with!

Thursday, August 15, 2013

Freezing Carrots

 This is one of my bucket list items.  Learning a new way to preserve food.  I tacked freezing carrots.  These little ones are left over from canning both carrots and stew veggies. 

Cut carrots.
Put in boiling water for 2 minutes.
Give ice bath to cool them down
Drain.
Package. 
                                                      Label.


 Yes it was that simple.  I plan on adding these carrots to our noodles to add a little extra flavor.  I'm loving home grown carrots and can't get enough of them.  I love knowing that there are no fertilizers, pesticides or any chemical to grow them.  I love growing heirloom seeds, and the variety that they have.  I love canning, freezing and eating food that I personally grew.  I know every ingredient that went into the jar or bag.  I can't think of any better feeling!
~I hope all of you will catch the canning bug! 

Wednesday, August 14, 2013

Canning Carrots

 I went carrot picking crazy!  I started just thinning a few carrots, then I thought I would just finish thinning a patch.  I ended up thinning/harvesting the entire patch.  I did leave carrots, evenly spaced every 6 inches.  What I ended up with is 2~ 5 gallon buckets.  What to do with that many carrots?  Can them!
They started with a washing.
Then we cut the tops and the tips off. 
Next pack them in a jar. 
Add 1 tsp salt optional.  
Add water to the 1inch line.  

 Wipe jars.
Add lid and ring.
Load in Pressure Canner
Process for your altitude.  I had to can them for        30min.

After they set overnight I took off the ring and wiped down the ring, and the jar. 
Label.

Save for a few months and enjoy on a cold winters day

Enjoy~

Tuesday, August 13, 2013

Quail Update

 Here is the quail update for this week.  They have started feathering out, and have doubled in size.  3 week and they will be living outside, and only 5-7 weeks till I will have quail eggs. 


I am exhausted and will catch all of you up tomorrow.  I hope you will look forward to some fun posts in the next week. 

Friday, August 9, 2013

Baby Quail!

We never get tired of hatching eggs around here.  I often ask a friend if I can hatch chicken eggs for her.  We bough some quail with the intentions of hatching eggs and butchering them for the meat.  It just happens that after I set these eggs that my breeding stock got loose.  These little ones will become my breeding stock and will hopefully produce quality offspring for us to butcher.  I have found that home grown meat is much tastier then the meat at the store. 

This little one will hopefully like getting its picture taken soon. 


I just can't resist taking baby pictures!


Size comparison!  These little ones are tiny, and will start laying in 6-8 weeks.  That is 12-14 weeks sooner then a chicken will start laying. 


Little guy ♥s holding the little ones.  I won't have to worry about these quail being skittish! 


I hope you will check back on the growth of the quail! 

Monday, August 5, 2013

Oven Steamed Green Beans

 I smacked my head when I figured this one out!  I didn't want to microwave, or boil these beauties.  I already had the stove on so I figured might as well give this a try.

Oven Steamed Green Beans
Green Beans
Butter
Liquid Smoke

Wash Green Beans.  Snap off the ends.


Place Green Beans, Butter and Liquid Smoke on aluminum foil.  Close up ends and steam in the oven for about 45 min to an hour. 


Enjoy~

And yes it was that simple!

Roasted Veggies!

 This is today's veggie harvest.  I turned it into two of the most amazing side dishes to go with some home-grown, home butchered chicken.  This post if focused on the amazing roasted veggies. 

Oven Roasted Veggies
Beets
Carrots
Onion
Garlic
Mushrooms(optional)
Extra Virgin Olive Oil
Salt
Pepper
 

 Wash Beets Cut off the ends and tops.
 Wash Carrots.

 Cut off ends and tops. 
 Save tops and ends for rabbits. 
WARNING:  If you do not feed your rabbits garden scraps often do NOT toss them an entire bucket to them.  It can cause them to bloat and die.  My rabbits have been given garden scraps since they have started eating, and are use to eating things other then pellets. 

My young does loved these scraps, and had a feeding frenzy!
 I cut my carrots in half length wise and cubed the beets. 
 I broke up some mushrooms.  The only veggie not grown here.  Diced a little onion, and added some garlic.  Drizzle with Extra Virgin Olive Oil, sprinkle Sat and Pepper over top.  Bake 350° for about 45 min. 


Finally here is dinner Chicken, Oven Roasted Veggies, and Oven Steamed Green Beans.  

Enjoy~